My back yard was BO-RING! My poor kids were wandering the yard with nothing to do except dig in our garden. That didn’t work while we were trying to plant it. So! I told the hubs I was going to build a sand box. He gave me the “Okay…you sure?-you’re 7 months pregnant-how much is required of me to help-face”  I think he didn’t really think I would do it…until I showed up with a bunch of wood in the back of my Tahoe one afternoon! hehe…. I’M CRAFTY! (in a few ways, sneaky being one of them! )
I know people think I am crazy building a sand box for my kiddos at 7.5 months prego. I know the guy at Home Depot that I commandeered to help my pregnant self took a few glances at my growing belly, my 2 year old, and 4 year old in tow; and must have thought I was totally nuts. But! I am a doer and you just can’t stop me. 😉 muuhuhahaha!!!
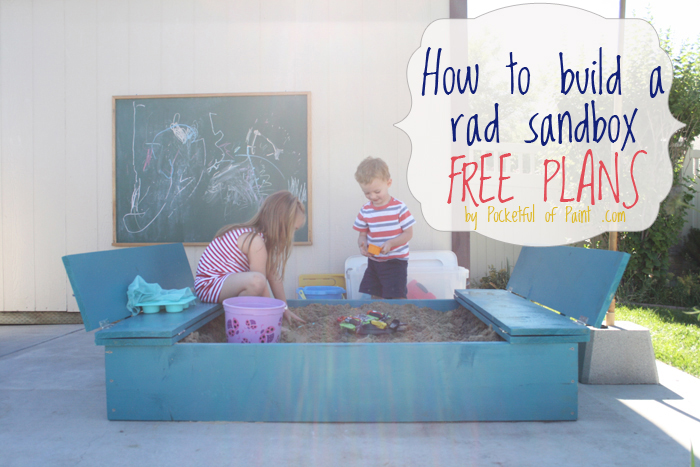
Here’s how I built the box o’sand that has made my kids super happy. I hope you enjoy the smiles this will bring your kids too. 
You will need:
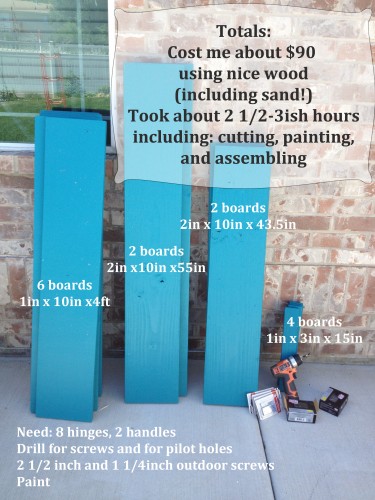
3 1″x10″x8′ wood boards – cut 6 pieces to 4 ft each
2 2″x10″x10′ wood boards – cut 2 pieces to 55″ each and the other 2 pieces to 43 1/2″
1 1″x3″x5′ wood board – cut 4 pieces to 15″
A drill
A miter saw
A sander to fix rough edges after cutting
Paint and brushes
8 galvanized hinges
2 galvanized handles
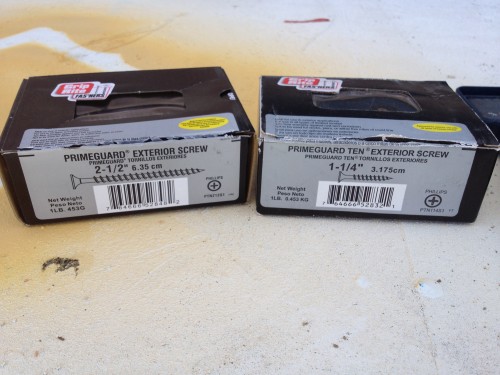
exterior screws- two sizes. 2 1/2 inches long and 1 1/4 inches long
and of course SAND!
We bought our sand for $12 – for a half yard at a local nursery that sells “play ground sand.” We used a little more than 1/4 of a yard in our box. So we spent about 7 dollars on sand to fill this bad boy. DON’T BUY THE BAGS AT HOME DEPOT/LOWES~ IT WILL COST A FORTUNE! Call around to local nurseries or places that sell mulch etc. and ask for “PLAY GROUND SAND.” You will spend WAY less mula.
Also, ladies! If you do not own a truck or don’t have it that day or the wood is just too long for your car OR, you do not own a saw OR, are uncomfortable using a saw ASK SOMEONE IN THE LUMBER DEPARTMENT TO CUT IT FOR YOU! They will do it for free. Bring your measurements with you and tell them what and how you want it cut. One less step for you to do.
(This is just hands on time, not going to buy the wood or paint drying time. Costs could vary on type of wood or locations.)
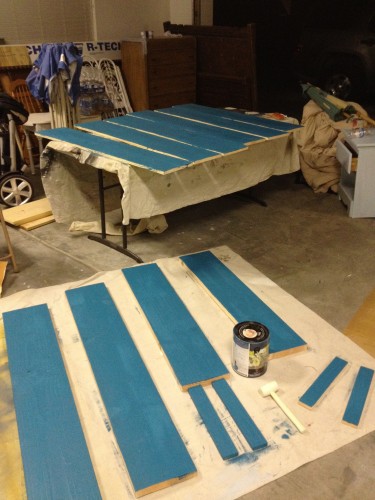
I painted the wood after it was cut, but before I assembled it.
For safety reasons, I had my husband cut the wood. My prego belly sticks out too far and made us both a little nervous.
I used a regular latex paint I had laying around. I had looked at stains and outdoor paints, but the man at the counter said what I had would work great. We used this same paint on our chicken coop last year and it has held up great through the Utah winter and summer. I felt good about it and went with it.
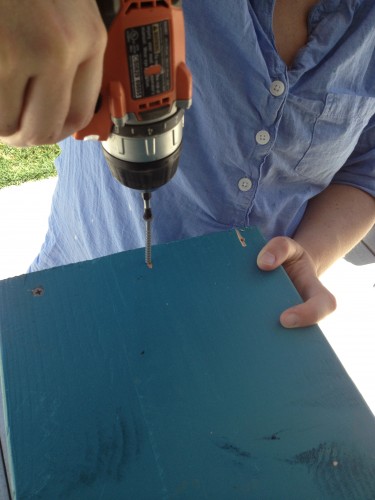
The next day I assembled my sand box. I screwed the 4 bottom box pieces together. The two 2″x10″x10′ wood boards – cut two pieces to 55″ each and the other two pieces to 43 1/2″. The shorter pieces goes inside of the longer pieces. As shown in this picture below. I drilled pilot holes in all of my wood pieces before putting in the screws. This helps to prevent the wood from cracking when putting the screws in. (Just in-case you are not a wood building specialist) 
I drilled three holes evenly spaced along the outside of each of the four corners to connect my box together. I used my 2 1/2″ screws here. Now if you didn’t care about the seats, technically you could stop here.
You would have a box to put sand in. Hey, it would cost you less and be super simple. But! Let’s move on to the top piece anyway, that’s the cool part. And really it is not hard!
You can do it!!!!
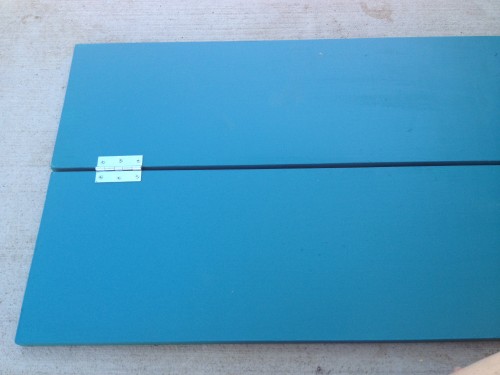
After the box was screwed together, I worked on the top boards. Start with three of the six 4ft long boards. Put two hinges on two of the boards.
I did not need to drill pilot holes for these.
Next I flipped those two boards over and screwed in the other two hinges.
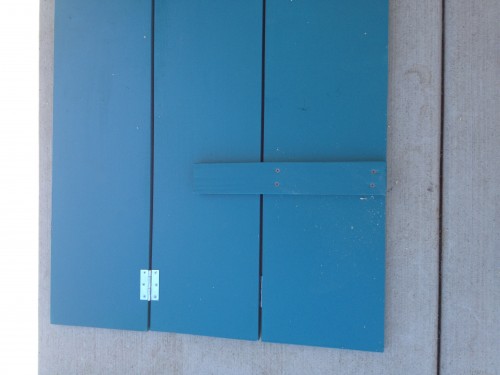
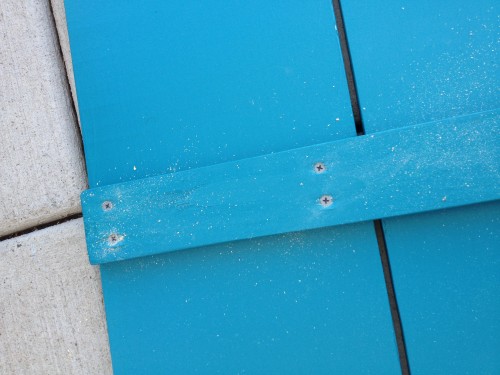
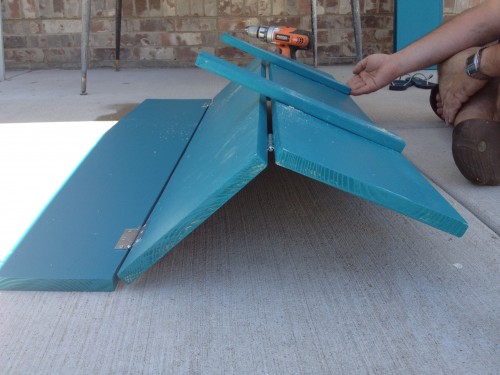
Now screw two of the four 1″x3″x15″ boards on to the back like in the above picture. Use the 1 1/4″ screws for this. Only screw the 15″ board to the 3rd board. The 1st board shown in this picture will be the board that gets screwed down to the base/bottom box that you already assembled. The other two pieces need to move freely. (You can see the other hinge hiding on the other side of the boards if you look closely).
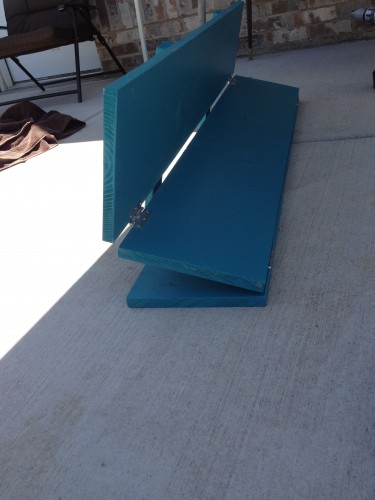
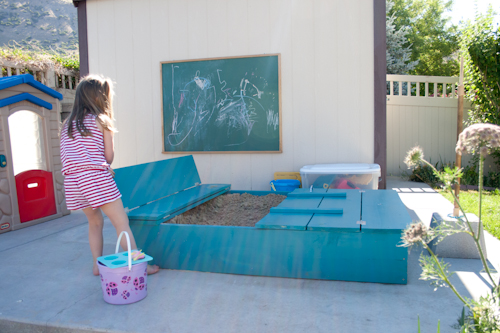
It should bend like this when you have finished.
Repeat these same steps with the other three 4′ long boards.
Once you have done that, you are ready to screw the top onto the base. Again, use the 1 1/4″ screws for this part.
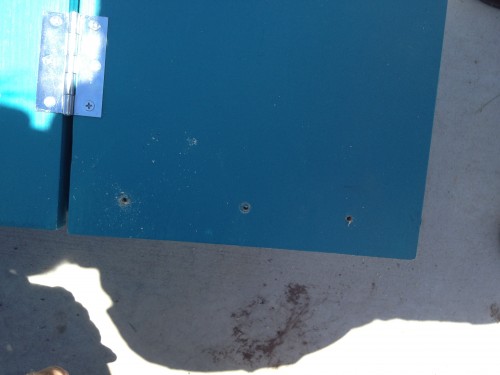
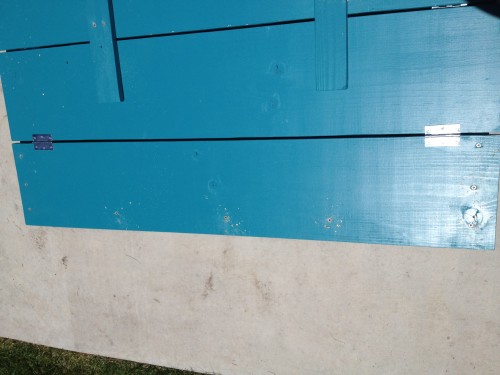
We laid out the hinged pieces on top of the base and screwed the end pieces to the sand box base. We drilled pilot holes and put three screws down the side as shown above. Then we put another three evenly spaced screws along the back of the board as shown below.
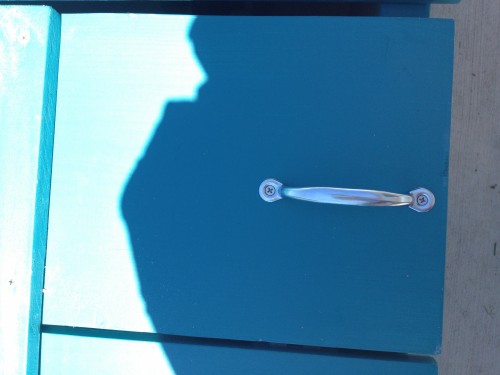
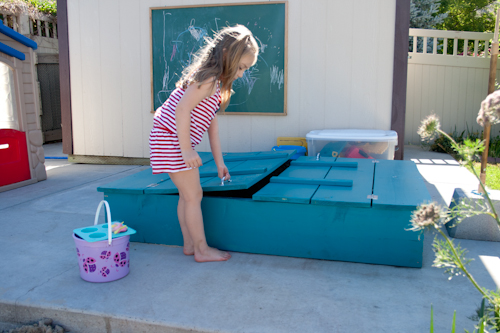
LAST STEP! Now add the handles. We screw one on each of the middle boards that the 15inch board is also screwed to. We screwed ours in horizontally, hoping it would be easy for the kids to open. And it is!
Before adding the sand it might be good to lay down some type of breathable fabric to help the sand stay in the box. That’s up to you.
You’re done!!!
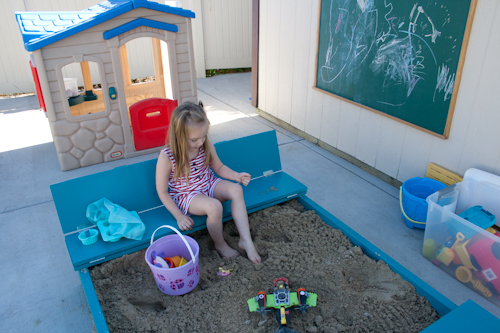
Fill with sand, toys, and miniature people to play. Voila! Another Saturday project checked off the list!!

LYNN! I am going to make this! I just planted the little dirt spot where Teague and Garret like to dig, so I told Dave we need a sandbox, and you just showed me how!
Thanks so much, you’re a genius.
Heidi
To the Tree, To the Tree, Etsy store
So, you just used the concrete as the bottom of the box, and didn’t actually create a bottom for it? Not sure if that would work for us. We don’t have a patio, so the box will just be out in our yard. I think I’ll use plywood for the bottom.
Thank you so much for the inspiration and instructions!
You could line the bottom with a few different things- some people use plastic or breathable plastic weed cover. Good luck!
I have found our sandbox designs for the Grandkids… love this!
Hi just wondering what kind of wood you used? I’m from Australia so our measurements arn’t in inches either so I have to convert them.
If I wanted to do a 6′ by 4′ sandbox, do you think you could help me with how to cut the dimensions of the wood??
We live in San Francisco Bay Area, my husband built this today and the kids LOVE it! Everything is pricey here, it ran us about $175 including sand.
Oh thanks for your comment! It is crazy how the prices vary throughout the US. Good to know!! And I am SO glad your kids LOVE it!! YAY!!! That makes me happy to hear
This is Just what k was looking for! What are the dimensions of the sandbox once it’s put together?
Great directions, thanks!! What kind of wood did you use? And what are the dimensions of the play area? I want to make sure it would be big enough to use one of those little diggers in!