It’s here!!! The answers you have been asking me for! Haha! Sorry I’ve made you wait so long. But, here in all its beautiful glory is the table makeover tutorial!!!
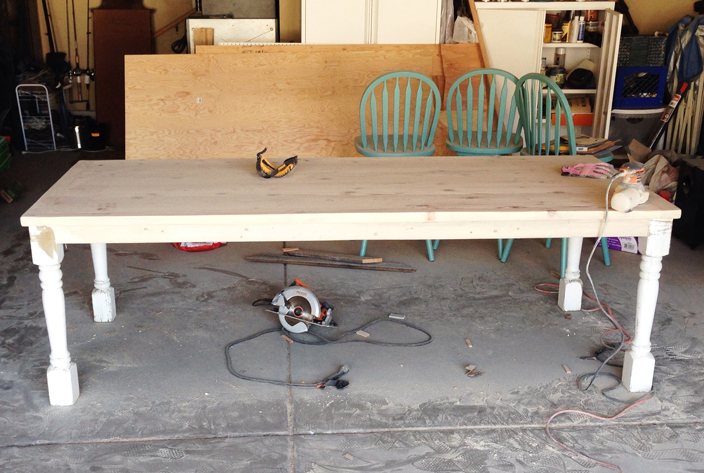
My husband and I built this table from scratch about three years ago. We loved building it together and loved how it turned out….well…mostly. I really wanted curvy legs (who doesn’t  …. but curvy legs were just not in my budget at the time. So we used a regular ol’ 4×4, which was fine for a while. The other thing I wasn’t thrilled with was my choice of stain. I wanted it to have a light natural look, but after all was said and top coated, it just wasn’t doing it for me.
“THE BEFORE”
Two years later – while walking around a salvage yard in San Diego I found some old curvy legs in a large bin full of scrap wood. BA-ZINGA! My husband was itching to get out of there, he was like, “buy whatever and let’s just get out of here!” We are so different hahaha….. I was in heaven… Any who! I bought the beat-up dirty legs for $8 each. Total score!
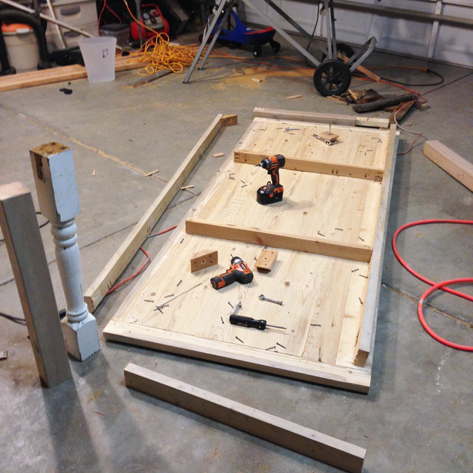
One MORE year later – I was finally ready to tackle this beastly table. I thought switching out the legs would be an easy task…hmmm…not so much. We had to practically take apart the entire underside of the table. It was scary!! It was a serious nail biter, I almost cried.
Good thing my husband is The Man! We got it all back together and it was even sturdier than before. This is when things start to get real people! I had to sand off the previous varnish and stain. It took me four-ish hours of sanding, my arms were numb and I was covered in dust.
The table top was completely sanded down to the natural wood. I started the destruction. Using random tools in my garage and big bulky chains I banged up the top of the table. A distressed farmhouse look was my goal, I had to make it look worn. I needed dings and marks in the wood for the paint to have places to sit in, adding more character to the table.
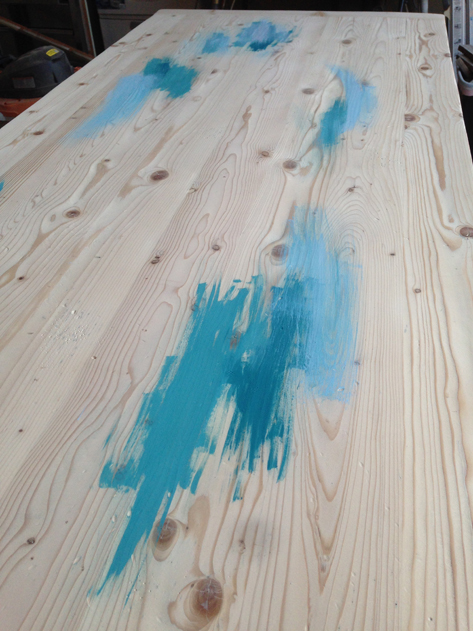
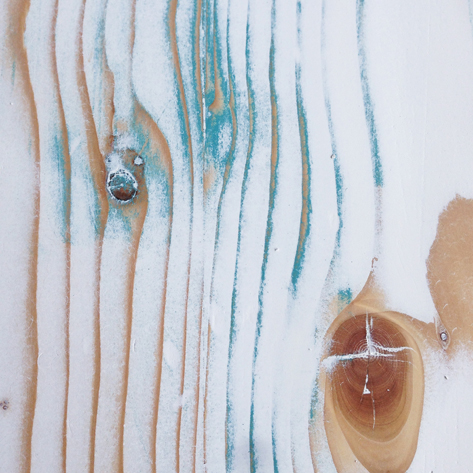
I started the painting off with little hints of blue paint – a little here and little there – no rhyme or reason. It dried for a few hours.
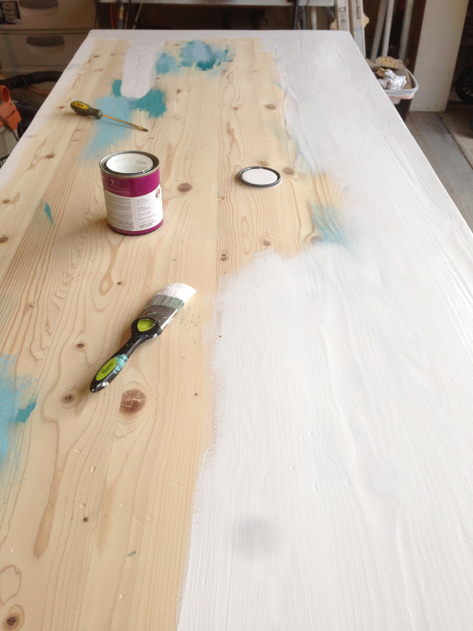
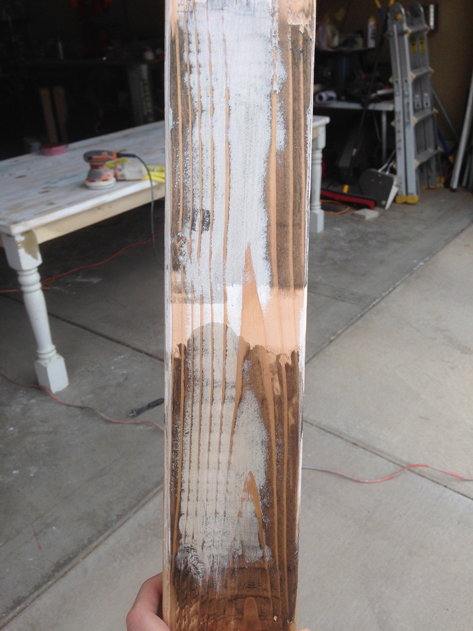
With a regular bristle brush I painted the entire top white, covering the blue.
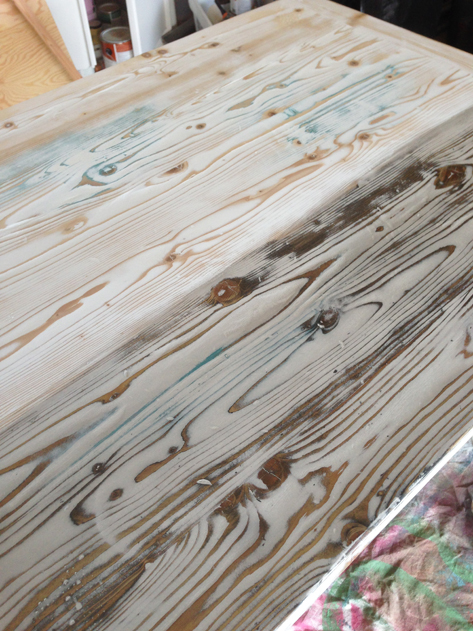
Busting out my orbital sander again with a 220 grit sand paper attached to it, I sanded the white down. This took me about 2-3 hours. I wanted it to look perfect. I was very careful to not sand in the same spot for too long. The goal was to get the wood grain to pop out of the white paint juuuussst enough.
I wanted a farmhouse look, but I wanted it to be more of a “modern-beachy” farmhouse look. So I chose a stain that didn’t have any red in it. I used Ebony stain by Minwax. It is a black stain, but once the excess is wiped off it came out to be the perfect grey on the paint, and dark brown in the grain of the wood.
The top one is the Ebony stain.
I had a vision of what I wanted, I am just so glad it actually worked!!
After one coat of stain, I let it sit overnight. It was then ready to be varnished. I used a water-based clear satin Minwax Polycrylic. I went over the top 3 times with a foam brush, letting it dry between each application.
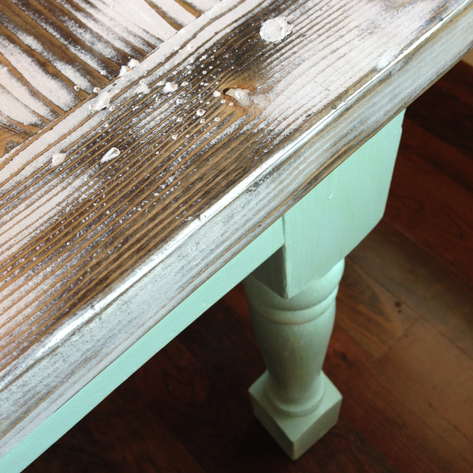
For the legs of the table and table skirt, I mixed my own paint. A lot of people want to know the color I used. That’s one drawback of mixing your own paint, dang! But, I love you so much that I went to Home Depot and searched for a match. The closest I could find was from the Martha Stewart line, it is called Sea Glass.
I distressed my legs a little as well, before applying a top coat.
I absolutely LOVE my table now. It is so me and it makes me happy every time I sit down for a meal.
Bust out your sander and get crazy! Leave your mark on that bad-boy.








I love your table! When you built it did you have a tutorial that you followed? I’m wanting to build one soon and your is pretty much exactly what I’m looking to build.
We didn’t, we made it up ourselves. But! Maybe I’ll have a tutorial for that soon. I know Anna White and Shanty to Chic have some table tutorials. Good luck!!
Wow! Could this look anymore amazing, Lynn!? Beautiful!!!
Thank you!!
Love this table, so fun.
Thanks!!
I love the top of this table, it is very similar to what I have in mind for my bathroom cabinets. Can you tell me what kind of white paint you used? When I was browsing materials in the local hardware store, they told me that using a latex paint with the oil-based Minwax stain could cause bubbles. Do you have any pointers to avoid that? Thanks!
Yes, use a water based stain with water based paint and same with oil. Never mix a water based with an oil based- same with the varnish. Good luck!! Let me know if you have anyother questions