You know what is fun about moving into a new house- the POSSIBILITIES! I wish I could tell you all my ideas for this house at once, but then you would think I was crazy and your head might explode. Haha!! SO MANY IDEAS!
I wanted to tackle this room as the first inside the house. This room will be shared by my son and daughter – ages 5 and 7. Usually I would put both of my girls in the same room, but these two kids are on the same sleep schedule. I figured it was best to leave the baby in her own room for now and let her sleep. So! How am I supposed to decorate a shared boy/girl room? I have a few ideas…. 
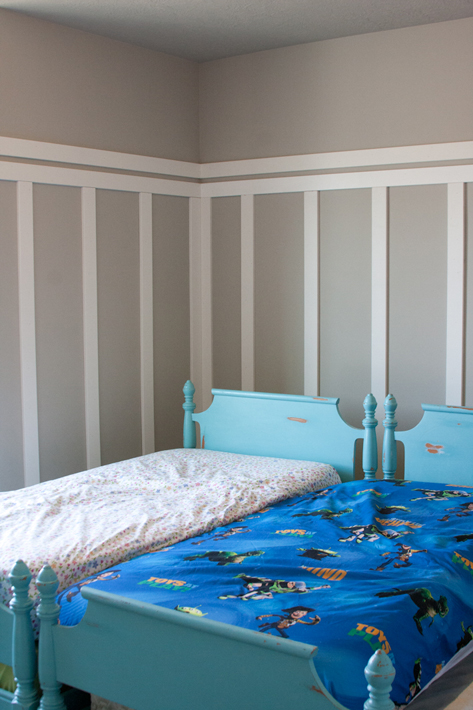
I thought I would start by framing out the window and adding some interest to the walls with board and batten. It took me a few days to do by myself, but this is totally a project anyone can do!
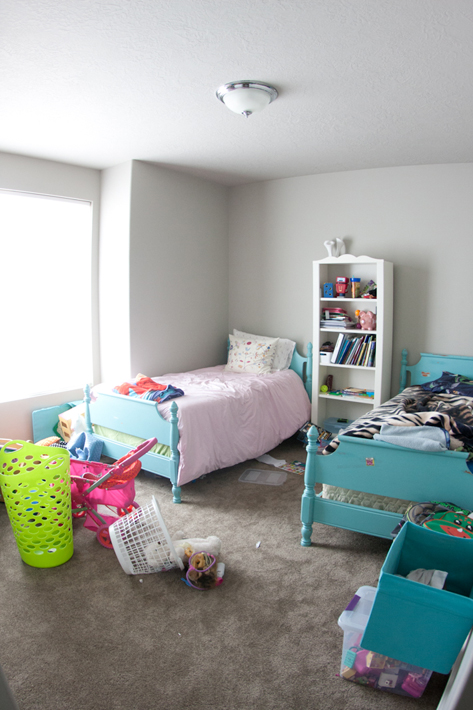
The must have “before” picture.
For board and batten the are a few things you will want to have ready:
1. a level
2. measuring tape
3. an air compressor and a nail gun
4. a friend to help hold the extra long boards across the top
5. flat base boards already attached to the wall
6. 1 x 3.5 inch MDF board. I used the primed pieces. These are really about .75 inches thick- not a true 1 inch)
7. pencil and pad of paper to write down measurements
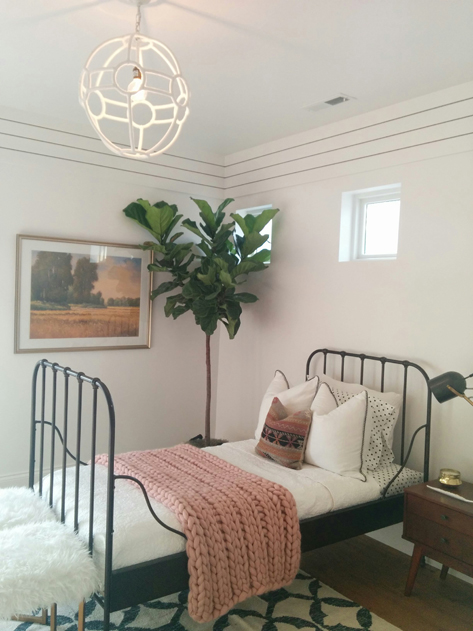
After visiting the Utah Valley Parade of Homes this summer and seeing this house by House of Jade Interiors I wanted to add something like the multiple boards at the top of this room. I thought it was a fun idea that was simple, but made a big impact in the space. It inspired me to add a second board to the top of my board and batten.
Here I go! My hubby left for work and I trucked the kiddies to Home Depot for supplies. Then I got home….and I had no idea where to start! HA! I called one of my best friends, who rushed over and helped me brainstorm. We figured out that 13″ spacing in between each board would be best. Not too much, not too little, JUST RIGHT! Doing it this way helped me to avoid all the outlets. That was the main reason I decided on 13 inches. I really didn’t want to worry about the outlets on the wall.
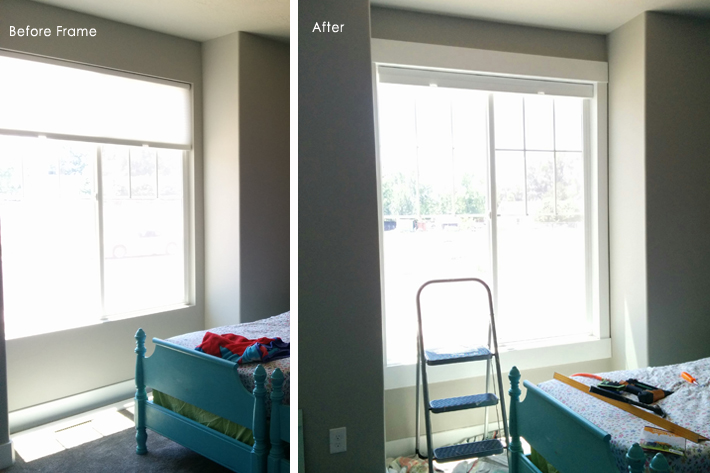
Once all my spacing was figured out I framed out the window. What a difference just that made! Holy Cow! I guess I am going to be busy framing windows now.  Look’n good! I first started by cutting a ledge out, it was perfect. I measured twice, cut once – used my jig saw and made a cute little window ledge….and then decided NOT to use it. I came to the conclusion that I didn’t want a ledge there. It wasn’t necessary for the space. I might want to place a chair near the window and I didn’t want a ledge poking out. Framing the windows this way would be MUCH faster anyway. I love faster.
I used a 1 x 5.5 inch board for the top and bottom boards and a 1 x 3.5 inch board for the both the sides. I cut the top and bottom boards so they were 1 inch wider than the side boards once on the wall – to give it that true craftsman look.
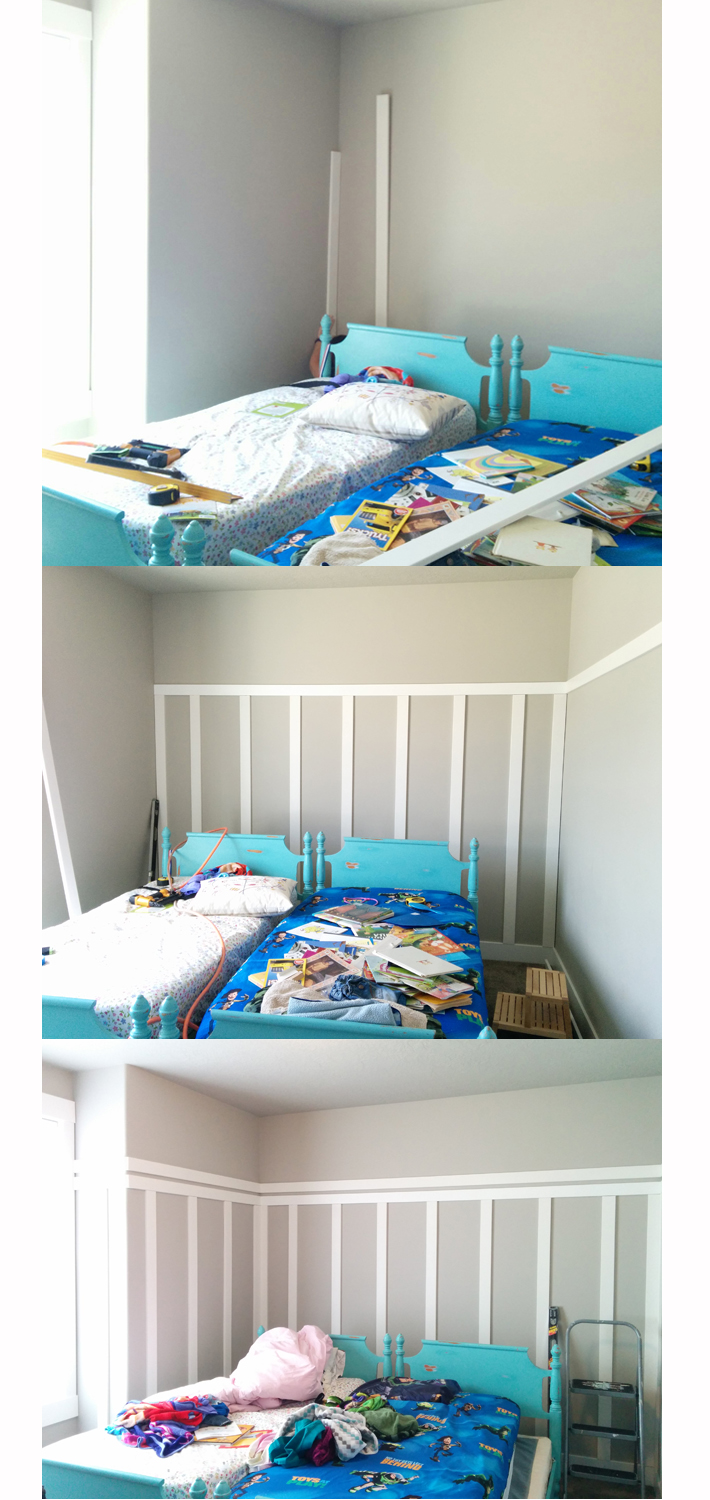
I started the board and batten by first putting up the long horizontal boards. You can do most of the board and batten alone, but for this step you will need an extra set of hands. I measured and placed my boards at 6 feet high on the wall. To make sure everything was level I measured in multiple places on the wall and I ALSO used my level on top of the board to double check it was right where it needed to be. Then using my nail gun I put 2″ nails into the board. I staggered the nails and I wasn’t shy. That’s was wood putty is for right?!
I used a miter saw to cut all my vertical boards to 6 ft long. Then I started to put those up by measuring the main focal wall and finding the middle of the wall. I placed my first board here. As you can see in the pictures below, there is a space at the very end of the wall that is smaller than 13 inches. This was a 8 inch space on both sides. I added corner boards on both sides simply because I liked the way it looked. This is definitely optional when doing board and batten. I thought it looked more finished having it look framed out this way.
One of the tricky parts about putting this up was cutting the corner pieces for the rounded corners on the wall. After I did one right and got the hang of it, it really wasn’t too bad. NOTE! – if you have a little space on the corners that isn’t matching up perfectly- don’t fret! As long as it is level with the board next to it, matching up on the top and bottom, a tiny space between the boards will be okay. Use caulk to fill the space, sand, and paint! You will never notice the gap. I cut my corners at a 22 degree angle, with a middle piece matching up to the wall pieces. Look at your base boards and try to match what was done there. I wish I would have taken a picture of this step to help explain it better. I hope that all makes sense!
After I had the first horizontal boards and all the vertical boards up on the wall I added the second horizontal board to the top. I cut a one inch piece of MDF to use as a guide and get even spacing around the room I also used my level to again check everything.
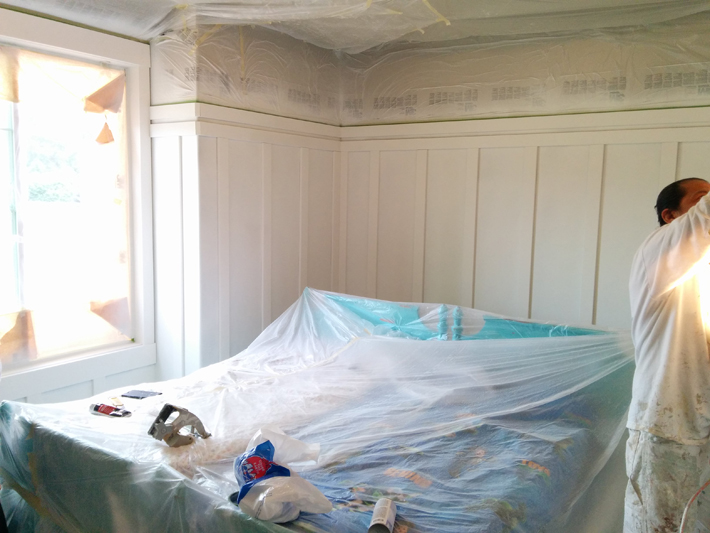
Then I called a painter 😉 Haha!! That was a lot of work! I was getting tired of being in this room! AND- I really wanted this room to look like professional did it from start to finish, so I wanted to get it sprayed. Painting it is definitely an easy step you can do by yourself. I was planning on doing it also until I found a painter who was willing to do the whole room- including patching nail holes and caulking EVERY SINGLE board. I told myself a number I was willing to pay and if I couldn’t find someone to do it for that price I would just do it myself. Thankfully Five Star Painters here in Utah was able to do it right at my target price. I was thrilled with the price and the job they did. It took them two days to finish the room -would have taken me two weeks to finish this step- between corralling little children and painting and loosing my sanity.  This was totally worth it to me. I believe part of DIY projects is knowing what you can do yourself AND knowing what is better for your time and money to hire out. Some projects or parts of projects are okay to get help with.
Stay tuned for the full room reveal!!
GET CRAFTY WITH YOUR BAD SELF!
See how I painted the bed frames by clicking HERE

I neeeeeeed to see more!!