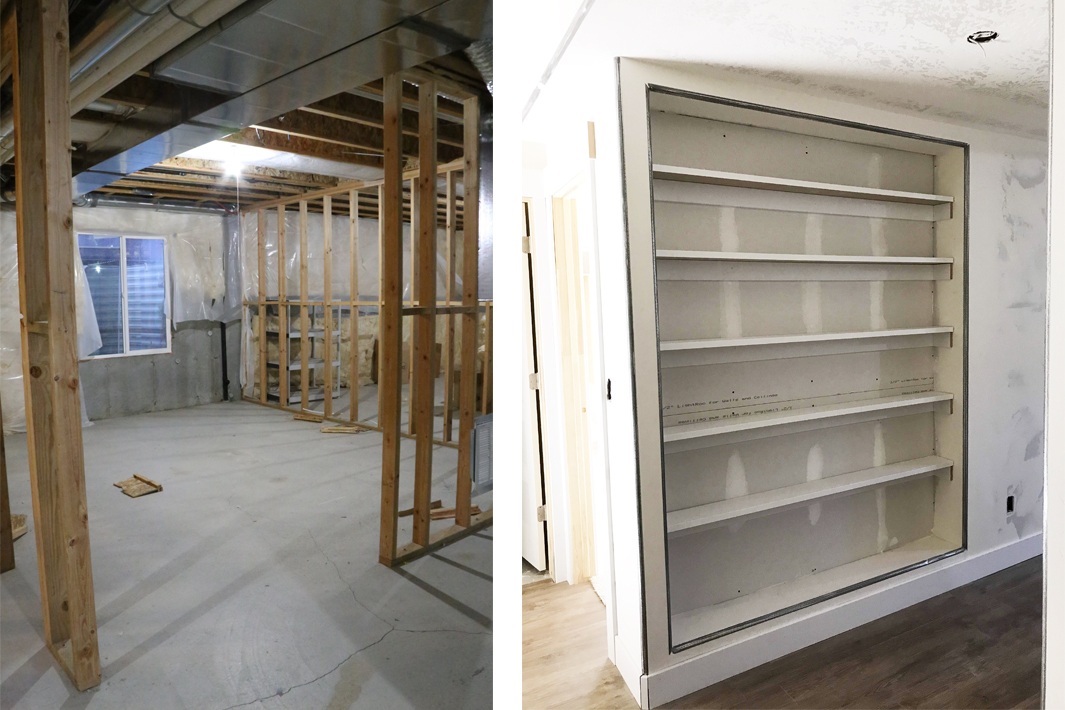
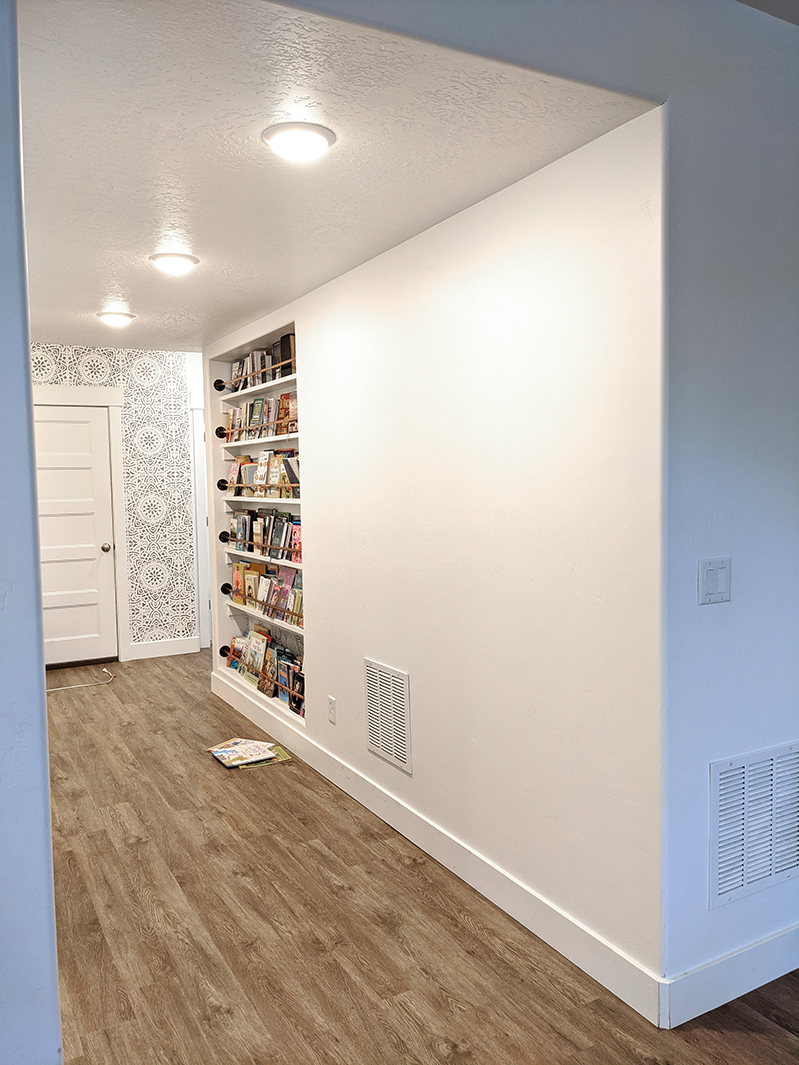
When were moved into our home the basement was not finished, but it was partially framed. One of those framed walls was a little funky. It did not line up with the other “walls” it would meet up with. I wasn’t sure how to make it work with the room behind it. At the same time I had a TON of books in storage that needed to find a home. I was talking with the framer one day trying to figure out what to do, I knew I wanted a bookcase there built in in that space….but how!??!? It wasn’t deep enough for books… unless we flipped them! Books that face out on a shelf! Problem solved!! Done! Let’s do it. (Anyone else thinking of Jack Black in School of Rock? Chello?!) Here are some pictures of the process. Keep Scrolling down for more details on what I did after the drywall was done.
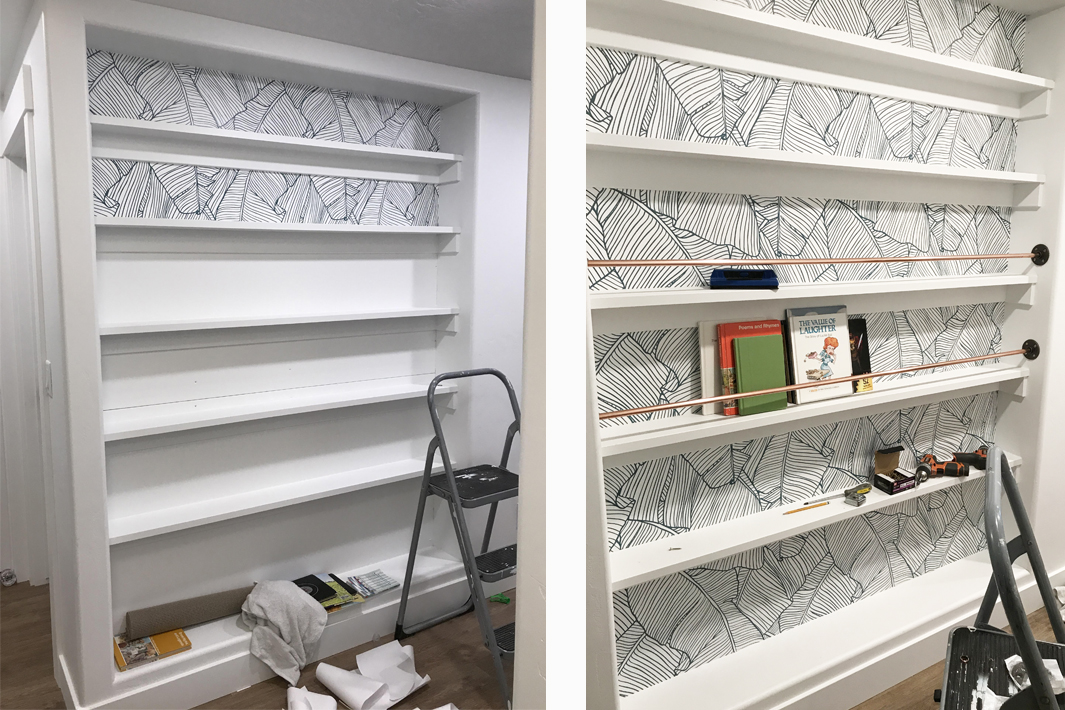
As soon as dry wall was complete I created shelves using MDF molding. Using finish nails I attached the boards to the inset part of the walls, then placed a board on top of those. I nailed that down with my nail gun and finish nails as well. IF I was to do this again I would have brought the selves all the way to the edge of the inset walls. MORE space for MORE books!
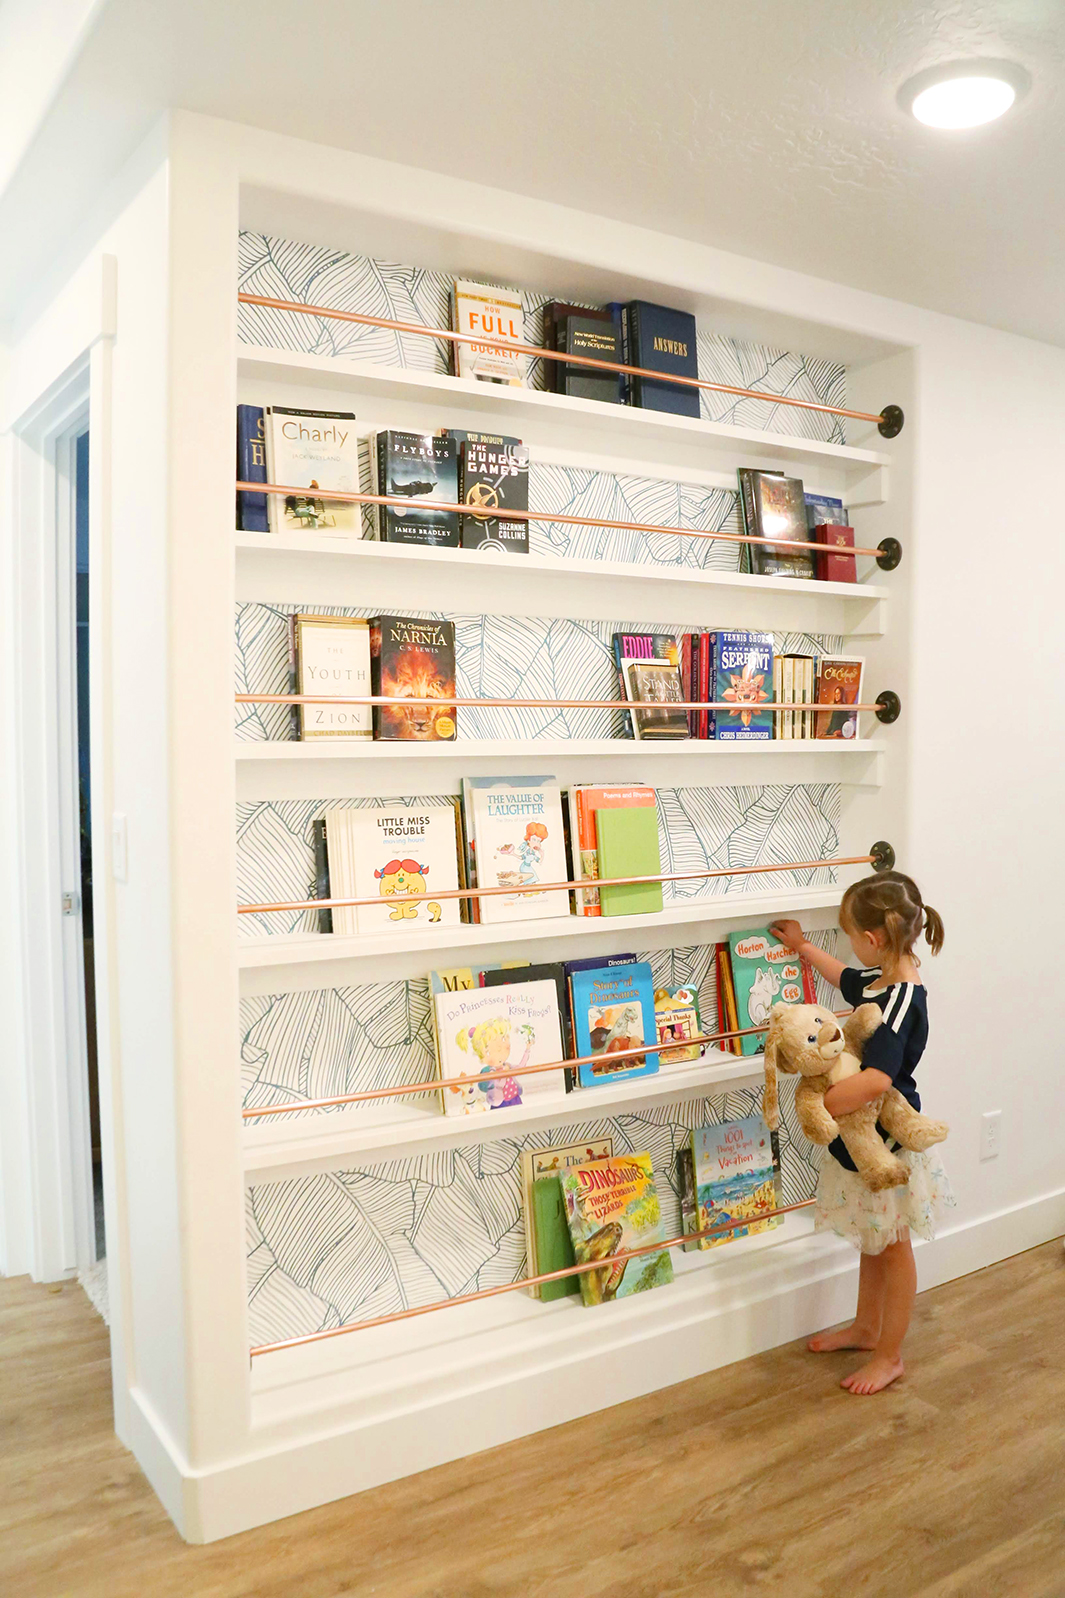
The next step was caulk and paint! After the paint was dry I worked on putting up some removable wall paper. This was a fun IDEA… I say that because now that ALL our books are on here, you can’t see the wall paper very much. HA! But, it was pretty when only a few books were up. The wall paper was from a company called Walls Need Love.
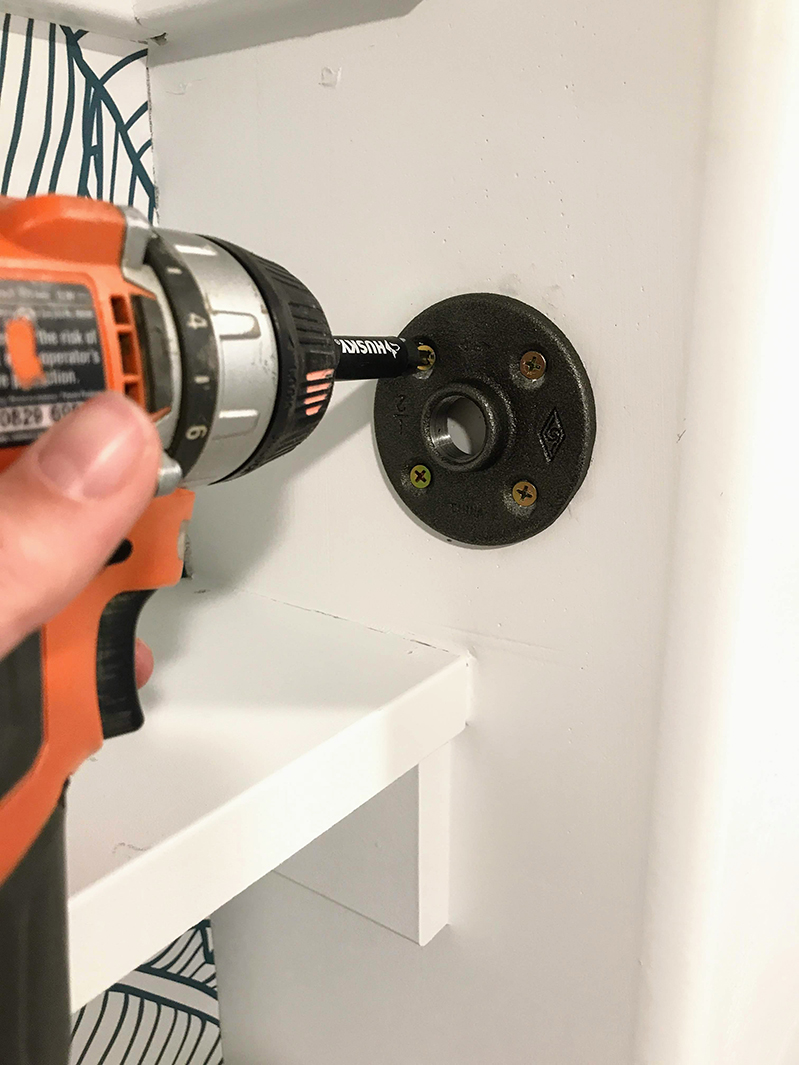
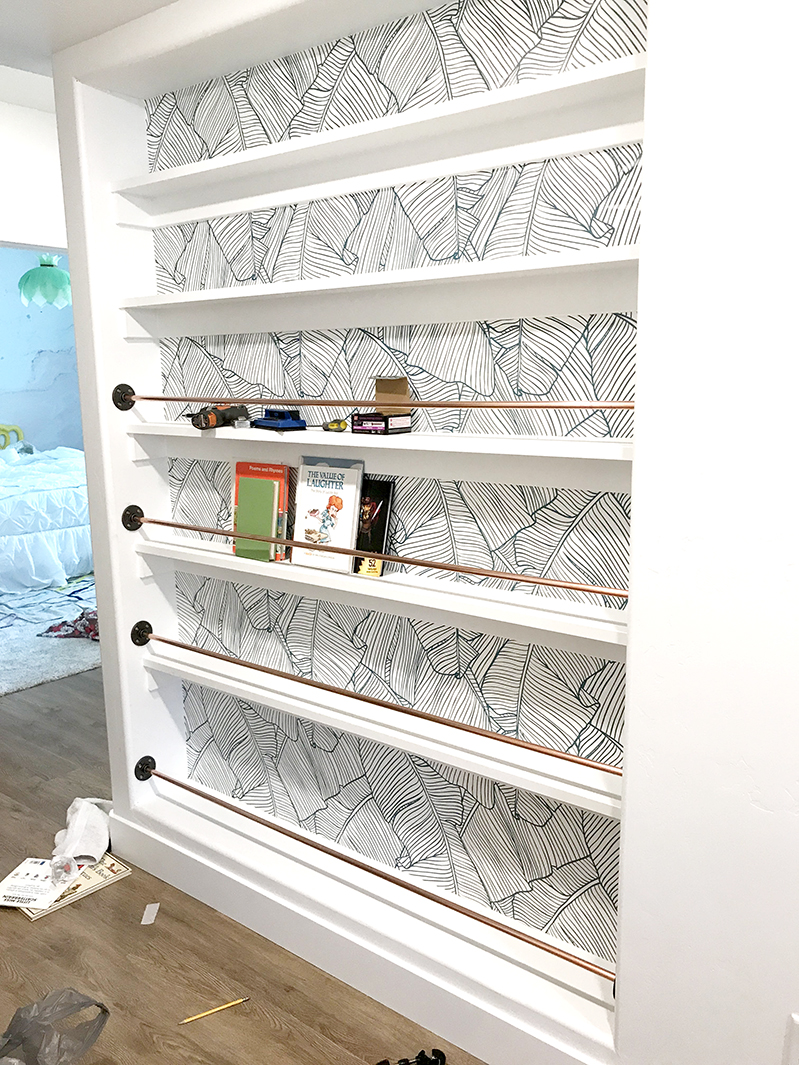
The last step in the process was to put up the copper pipe rails to keep the books on the shelf. I put black iron floor flanges on one the side walls. I went about 4.5 inches up from each shelf when placing the flanges. HERE is another important tip! Make sure you put your flanges just in far enough into the shelf so that the pipe is over the shelf and not outside of it. Otherwise your books will fall off the shelves. Mine could have been moved in a little more, but they work. I was trying to hit a stud so I didn’t need to use wall anchors.
After the flange is up on one side, WAIT TO PUT PUT UP THE ONE ON THE OTHER SIDE! Cut your pipe to the correct size with a pipe cutter and stick it in the flange that is screwed into the wall. Place the other end of the copper pipe into the flange for the other side that you have NOT screwed into the wall yet. Slide the loose flange, with the pipe in it, to the correct spot. Use a level or measure super precise so the pipe is level. No wonky pipes here! Then screw the second flange into the wall. This MIGHT be tricky with the pipe in the way. You might need a second set of hands for this part.
I used 1/2 inch copper pipe for this project. AFTER I was done it was suggested I put a dowel into the pipe for extra strength. That would be a great idea! But, it has been up for 4 years now… and I haven’t had any issues with the bars bending or getting dented. You can decided if that is something you want to add or not.
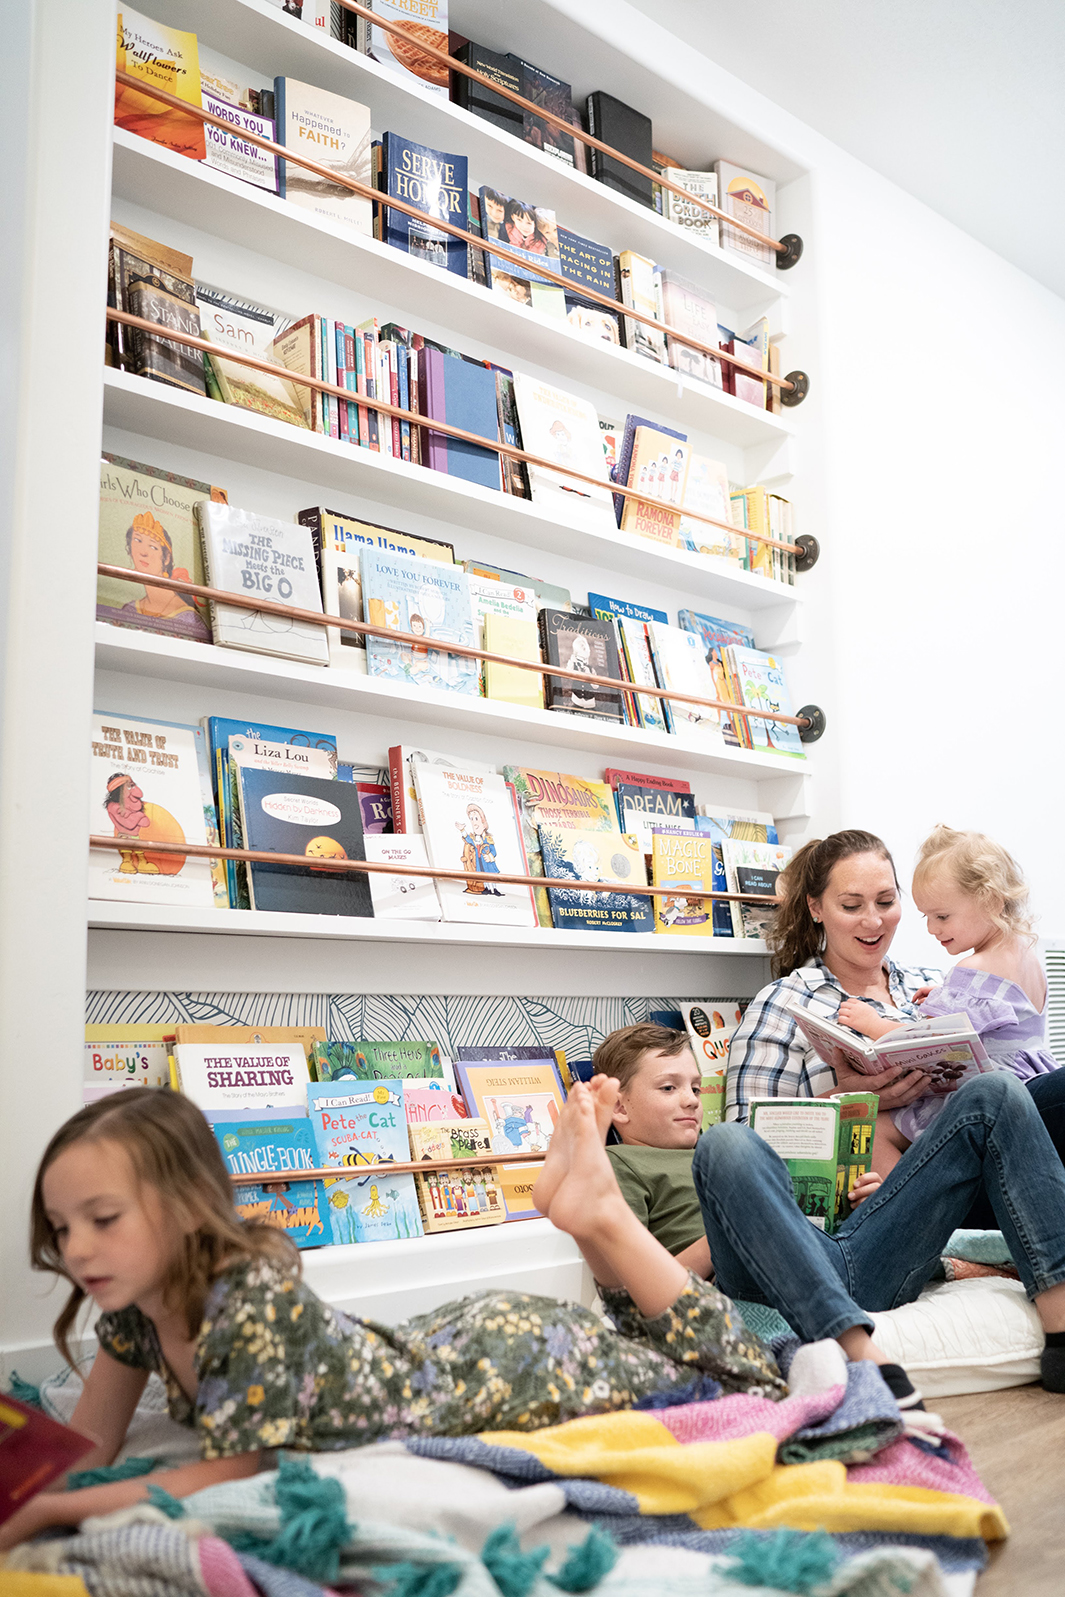
Everyone who walks into my home comments on this bookcase. It is one of my favorite DIY’s and favorite additions to my home. I LOVE BOOKS!
Picture by Jordan Bree Photography

Leave a Reply